Let’s take it back to the ’90s and install some Bantu Knots for the weekend. Just in case you have no idea what Bantu knots are keep reading.
In the Caribbean, we call Bantu knots “Chiney bumps”. That term sounds like something that can get us in hot water but that’s probably what some people are used to calling it.
However, I digress.
The hairstyle originated with African women and if you really want to get technical History.com notes that the term “Bantu” universally translates to “people” among many African languages, and is used to categorize over 400 ethnic groups in Africa.
These knots are also referred to as Zulu knots because the Zulu people of South Africa, a Bantu ethnic group, originated the hairstyle. The look also goes by the name of Nubian knots.
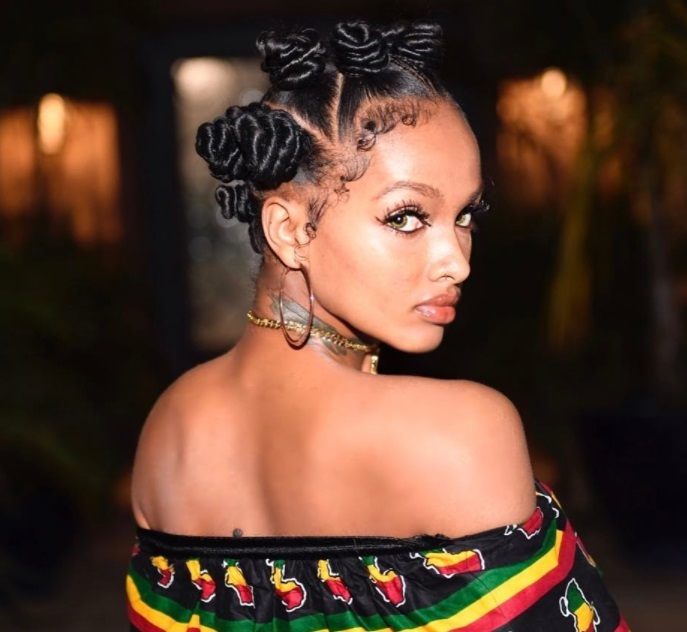
Today they are still worn very often as a protective style for curly natural hair and they look like small twisted cinnamon buns all over your head.
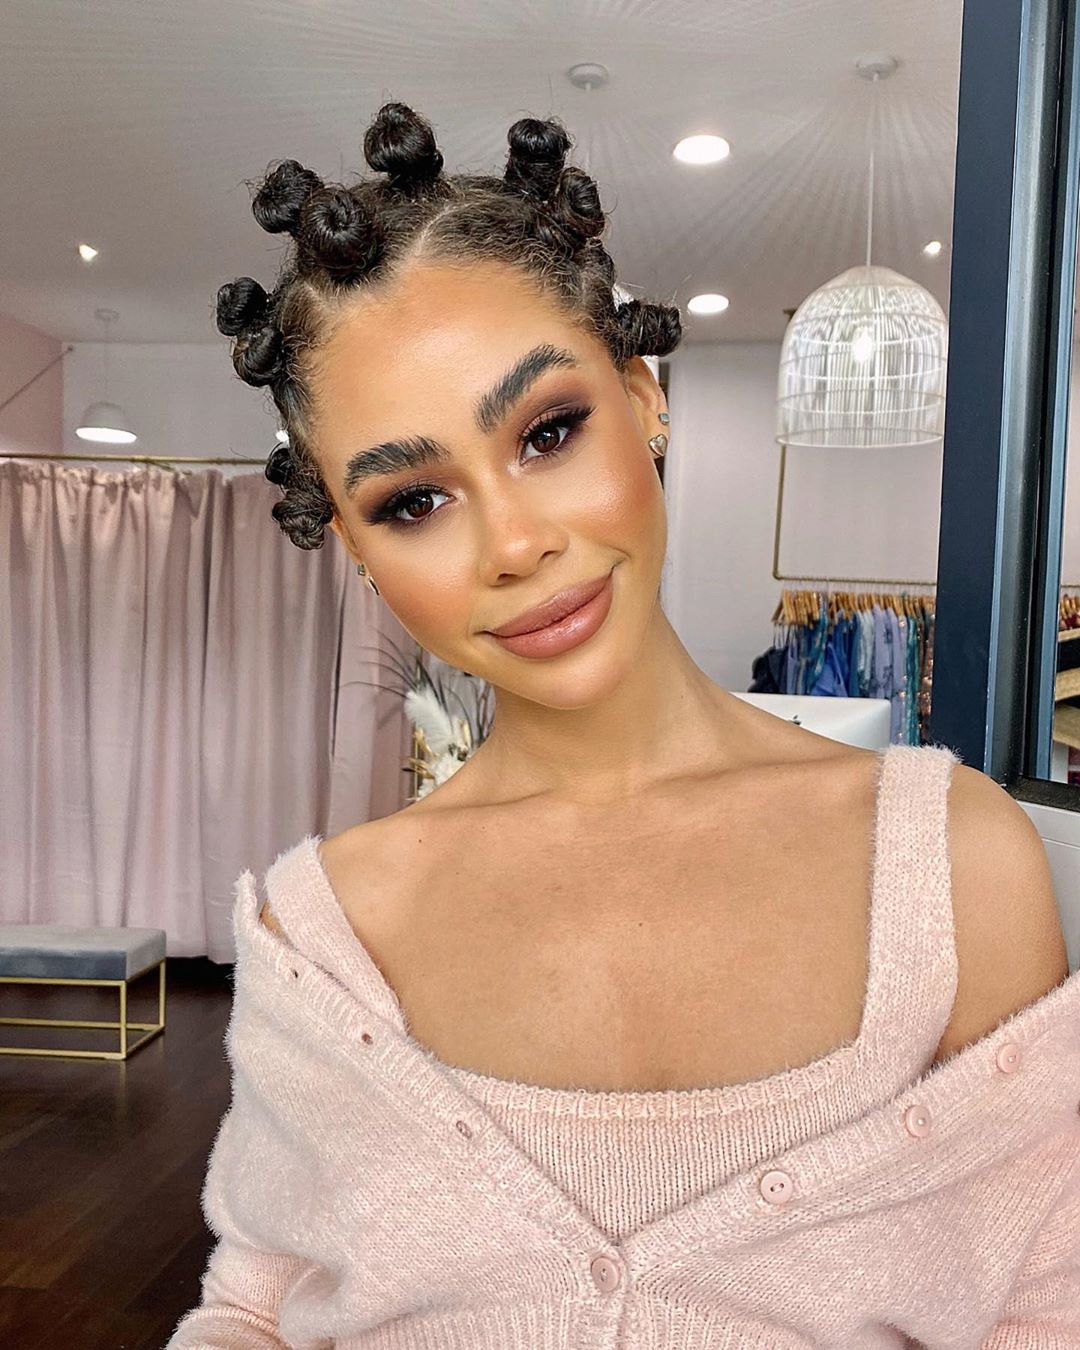
You can choose to do jumbo knots if you have long hair like this:
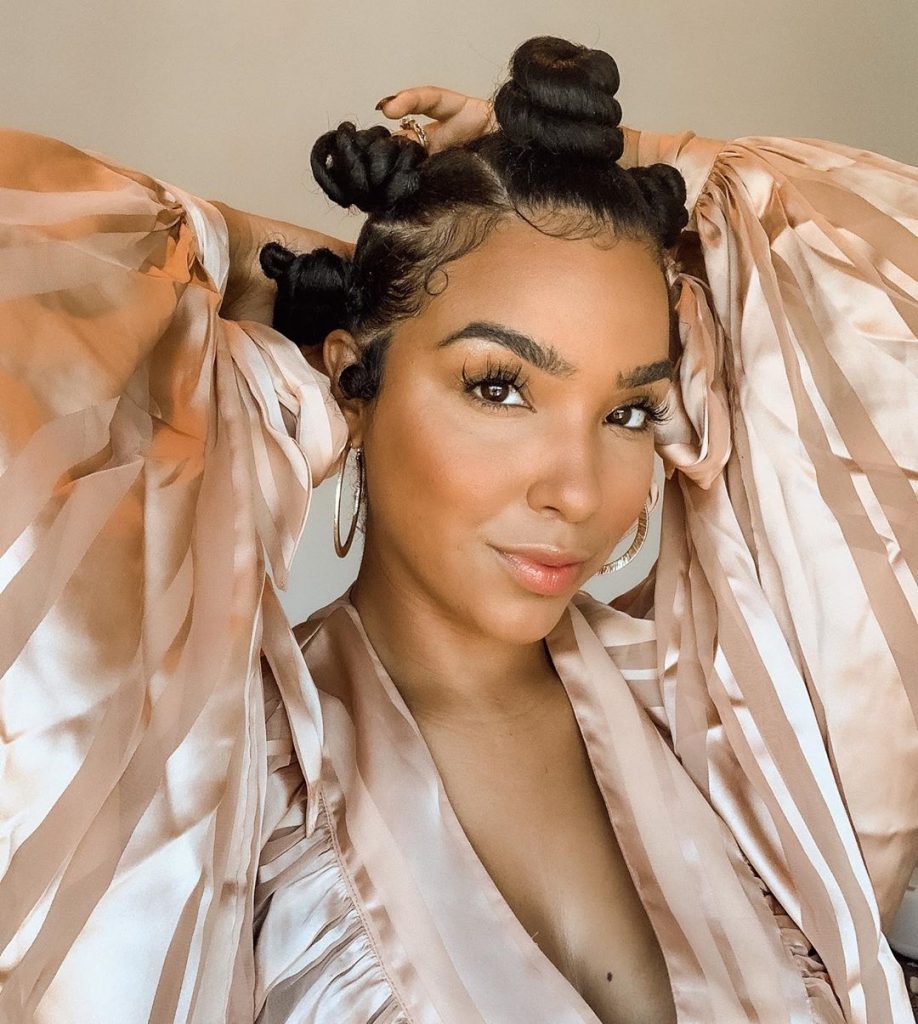
Or you can do smaller knots if you have short hair like this:
Fun fact: I used to hate this style especially if my mom installed them and had company over. For some reason, at 8 or 9 years old I did not like the way I looked with these “little balls” all over my head.
Eventually, the style grew on me and is my go-to for a smooth wavy look.
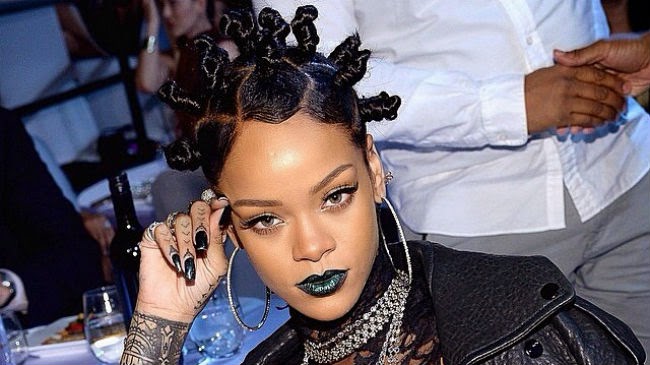
At one time or another, we have all worn them to celebrate our roots, as a protective style or like Riri to make a serious fashion statement.
Here is what you will need to start:
Leave-in conditioner
Mousse, setting lotion, or curl defining cream
Edge control
A wide-tooth comb
A rat-tail comb
A wooden boar bristle brush
Hairpins/bobby pins
Ouchless hair ties
How to Do Bantu Knots
Most of the time we would suggest for a clean, fresh set, to start off with freshly washed hair. However, since this is a weekend style this might be on old hair and we get that! With that said, the choice is yours.
You can co-wash for a slightly fresh look, or you can refresh your old hair so that it is easy to separate and detangle as you create the style.
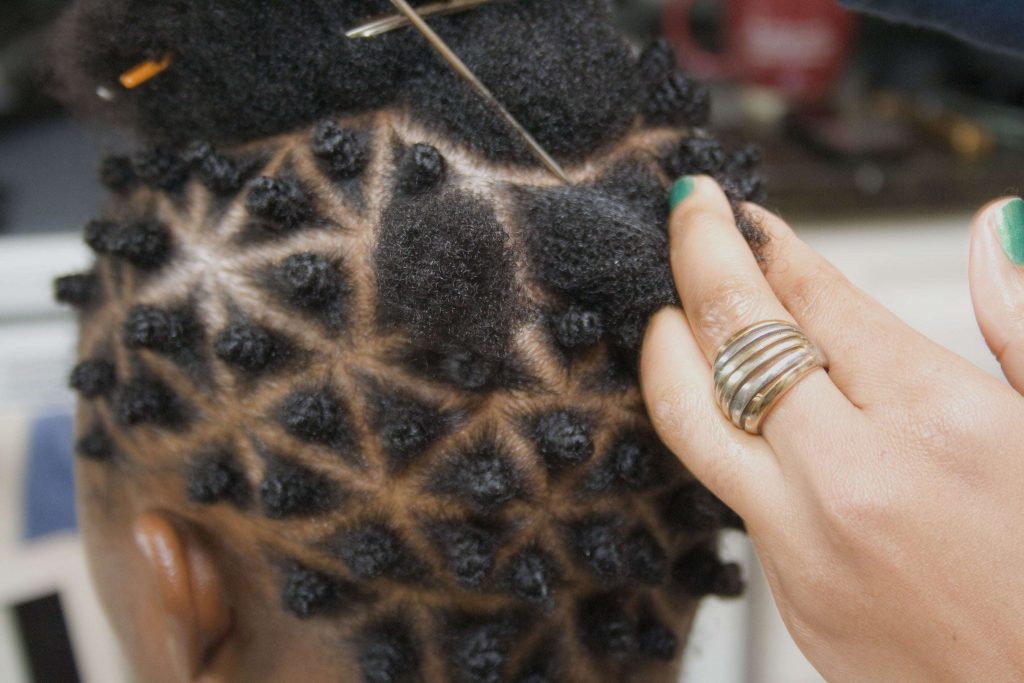
Step 1
Use a rattail comb to separate your hair into sections. Create the sections according to the length of your hair or according to the look you are going for.
Step 2
Apply a moisturizer with some hold or a mousse to the section you are working on, you can try this one or this one.
These product help the knots to hold their shape. Only use a small amount to avoid buildup.
Step 3
Take the section of hair that you are working on and hold it as close to the roots as you can then begin to twist your section until it naturally curls on itself.
You can also use a rubber band or hair tie at the root and twist the length of your hair in the same manner until it naturally curls on itself. Secure with a bobby pin.
Step 4
Repeat steps 1 through 3 on all of the sections in your hair.
Step 5
Apply a little edge control to the edges and get your edges together to finish the syle
Step 6
Secure the edges with a wrap adhesive or a scarf so that they can dry and remain in place.
How To Do Bantu Knots with extensions
If you have braiding hair at home and you want to add some bulk to your Bantu knots you can incorporate braiding hair in each of the sections to create bigger knots
Watch:
Watch this tutorial for shorter hair:
After you are finished with your bantu knots as a style, you can remove them, slightly separate your curls for a sexy wavy look you can probably stretch for another day or two until wash day.
For more you can check out our Instagram post below as well:
Have you ever worn Bantu knots recently? Comment below