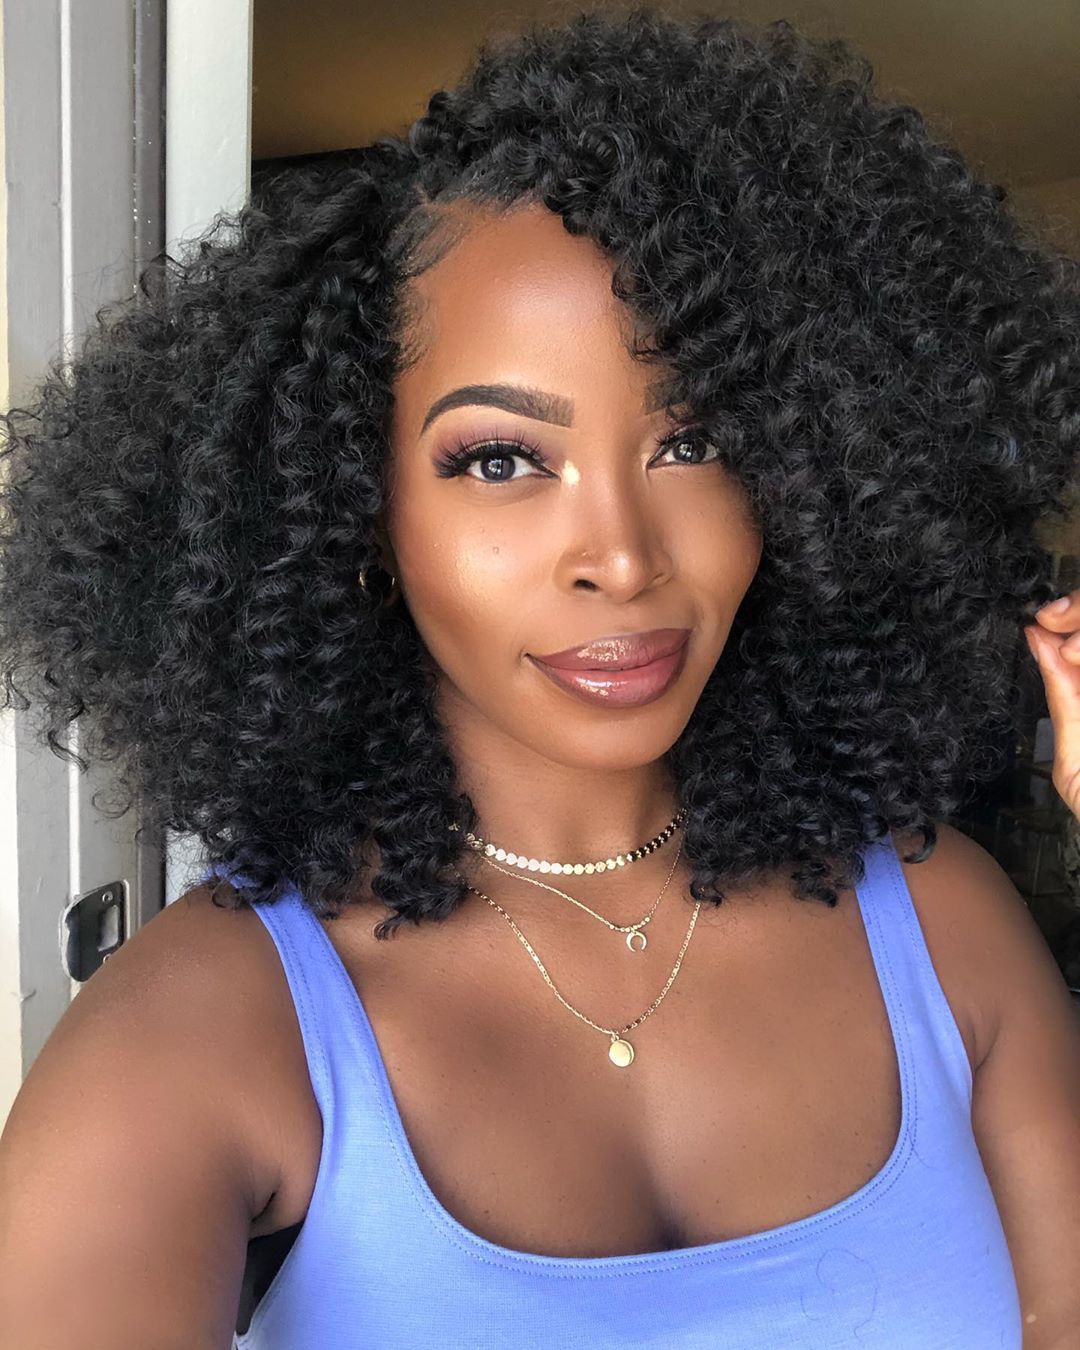
Crochet hairstyles have been around forever and as the years go by, the styles are so much more natural and versatile. And let’s not even get started on those install methods! They’re far more seamless and advanced than back in the day.
However, one thing has always remained the same: you need a braid base to install crochet hair. Hence them being called crochet braids.
But if you’re anything like me, you probably can’t cornrow to save your life. And since I come from the “can’t nobody touch my hair but me tribe”, it’s super frustrating to want to try a new style that requires you to do cornrows or other feed-in braids.
For this very reason, I’ve stayed away from attempting to crochet my hair—until now. This is because I learned that there are actually 3 different crochet methods that don’t require any braiding whatsoever.
Don’t believe me? See for yourself! Scroll down and take a look at the 3 easy and innovative methods that’ll get you a full head style in no more than 2 hours.
The ‘Mesh Net Wig Cap’ Method
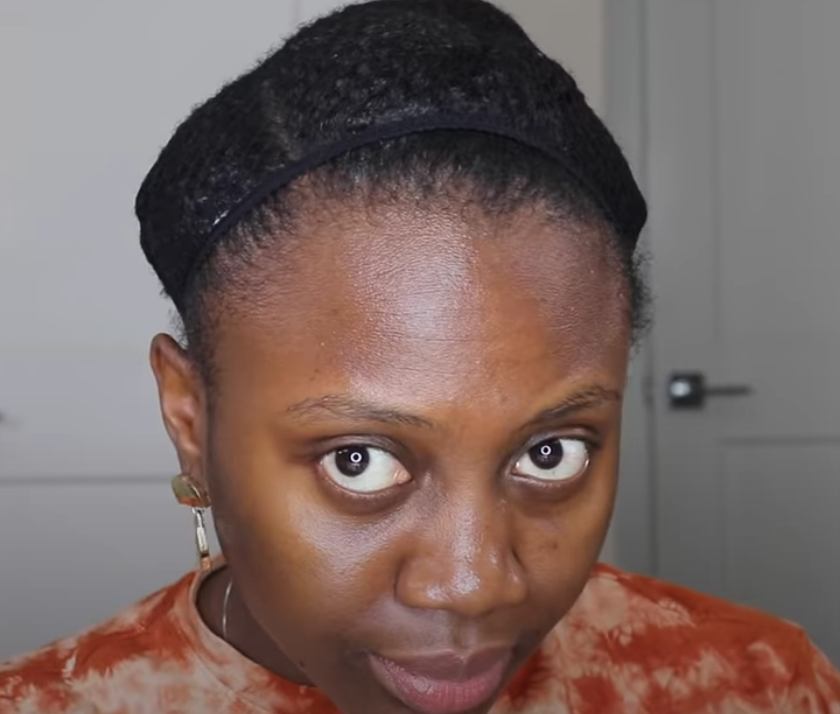
In my opinion, this method is the easiest of them all. All you have to do is lay your hair down either by placing it in a low bun, plaiting, or twisting it. Then cover your whole head —minus the hairline —with a mesh net wig cap. Voila! You’re ready to crochet.
If you are planning on doing a style that requires a part, I recommend leaving a little hair out or doing a twist around the part so that you can crochet close to your roots. This will help give your style the more seamless look that braids usually offer.
Before you begin, here are few more things to consider:
- If you’re doing straight hair, try to make your base as flat as possible. This way, you won’t have to worry about unsightly lumps and bumps around your head.
- Don’t moisturize or oil down your hair directly before crocheting. This may cause the cap or hair to become slippery and unstable.
- Try crocheting through both the net and your hair. This will create a more stable foundation so that your style will last longer.
Most importantly, have fun! This method is easy and inexpensive, which means you can try as many different styles as you want without breaking the bank.
The ‘Ponytail & Pin’ Method
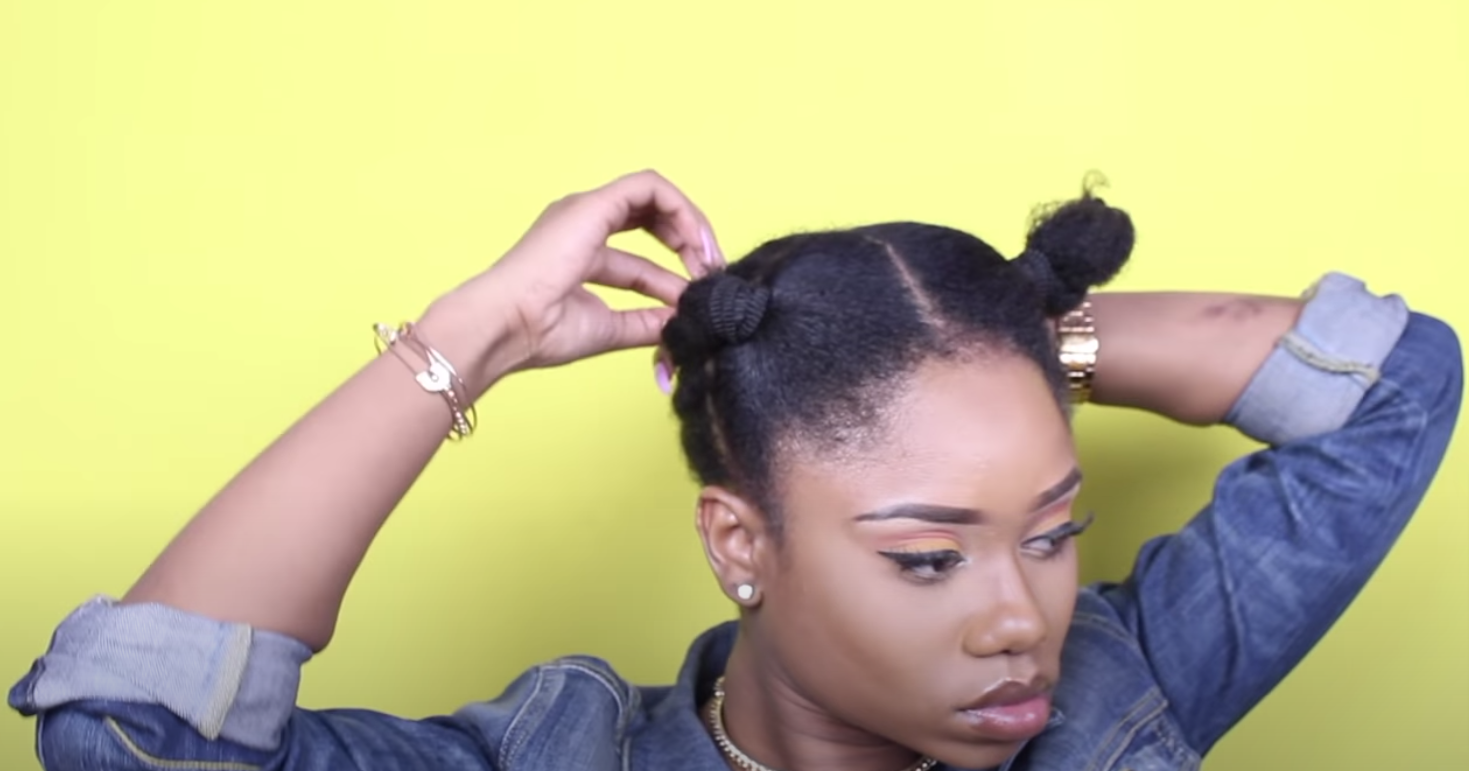
The second easiest method is the ‘ponytail and pin’, and it’s exactly what it sounds like: creating small ponytails and then pinning them down. Easy enough, right?
All you have to do is part your hair into four sections, put each section into a ponytail, and then bobby pin them down to your head. If you’re worried about any loose hair escaping the bobby pin, you can lightly twist your hair before tacking it down.
This crochet method can be done for almost every style, but there are some rules you should follow for a more seamless install:
- Because the ponytails create light “bumps”, this method works best with styles where you want some volume around the crown.
- Avoid silky, bone straight styles with this method. However, voluminous blowout, yaki, or yaki straight textures work perfectly fine.
- Using elastic bands, bobby pins, and a crochet needle all at once is a lot of manipulation for one style. Be careful not to tug too much, and properly moisturize beforehand.
The ‘Rubber Band’ or ‘Elastirow’ Method
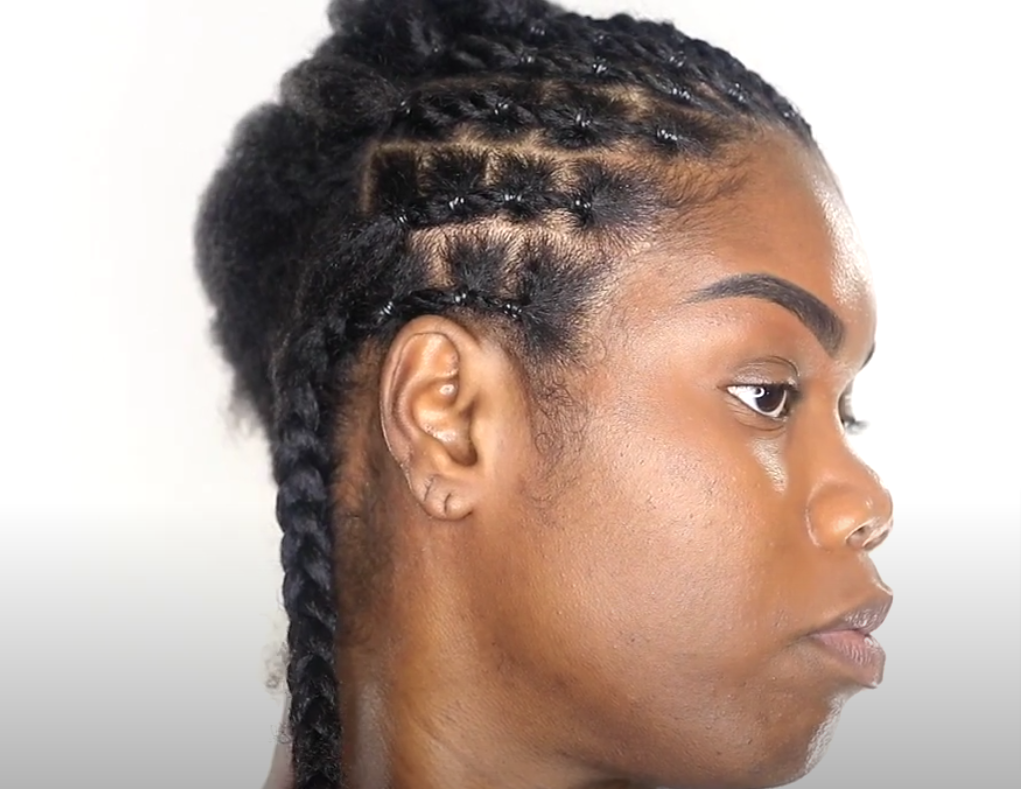
Now, this method is hands down the most time consuming of them all. However, it’s also the most secure of them all because it forms a secure base through creating the illusion of cornrows without actually having to braid.
How is that possibly? Well, through banding. Since this process requires a little more patience and effort, you can watch the video tutorial here or allow me to break it down for you in detail:
- You’ll have to part your hair as if you’re going to do cornrows. So you should have a whole vertical row of hair starting from your hairline and going back to the nape of your neck.
- Now instead of braiding, you’re going to do some more parting. This time, you’ll be parting a small square into your hair as if you’re going to braid singles.
- Place this small square of hair into a ponytail. Repeat this step until you have a whole row of small squares going down your head—making sure to twist the hair into each other as you go.
- After you do this all over your head, you’re read to start your crocheting.
This method works the best for:
- Crochet singles, twists, or faux locs. It creates the illusion of the necessary parting for the styles, but makes for a much faster install.
- Because your base will likely be flat (if done correctly) silky straight or wet and wavy styles can also be done here.
Not too shabby, huh? Now you can do the crochet style you desire without having to worry about the fuss of learning how to properly cornrow.