Tinted moisturizer has been my saving grace as of late because let’s keep it real, y’all—it’s hot outside. I mean, way too hot to be layering makeup on our faces day-in and day-out. And if the last year and half taught us anything, it’s that we can absolutely survive doing little to nothing with our makeup.
I, however, do not plan on roughing it completely. A full-coverage glam look might be out of the question for now, but natural, skin-like makeup options are a definite must-have. This is where tinted moisturizer comes in.
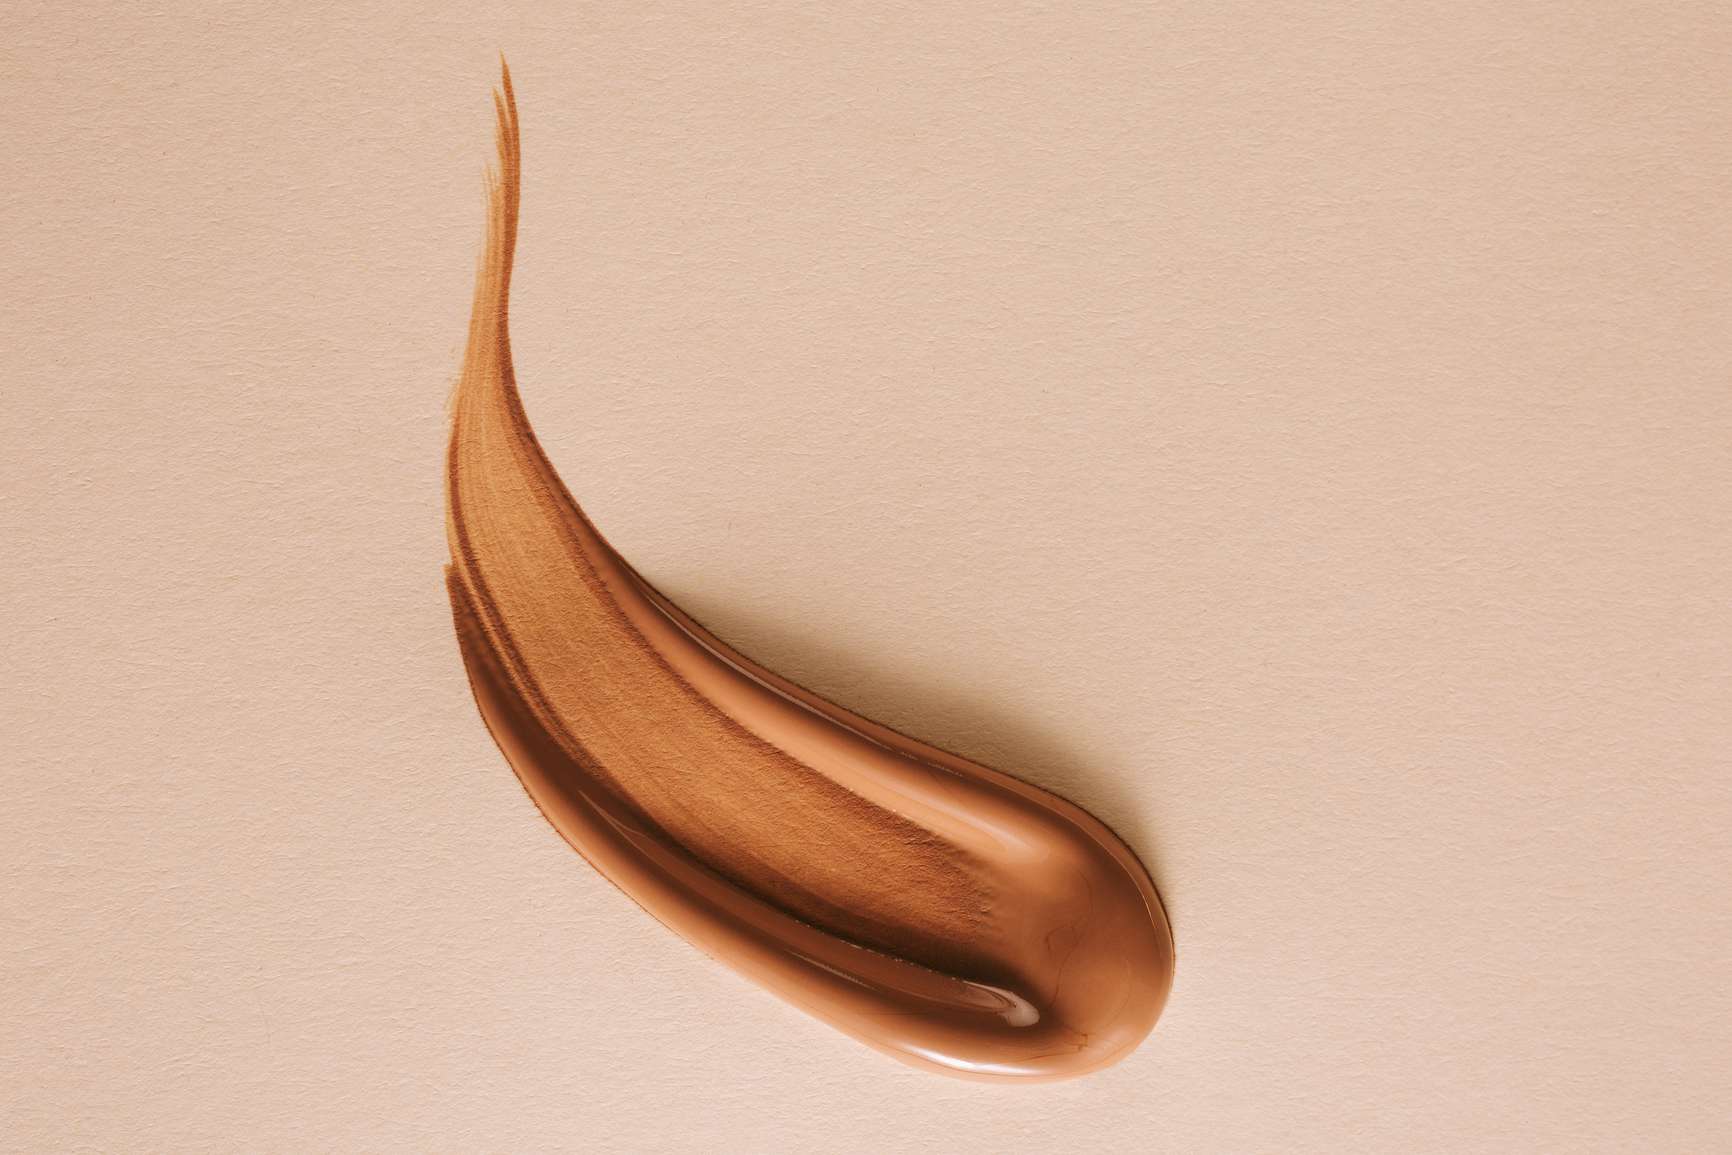
What is tinted moisturizer and is it right for me?
It’s exactly what it sounds like: moisturizer that’s tinted. It’s a slightly colored, lightweight lotion meant to moisturize your skin while also giving you sheer coverage.
It’s a great foundation alternative because it keeps your makeup looking as natural as possible. Foundation can sometimes make you look a little dry and cakey in the heat—something you don’t necessarily have to worry about with a tinted moisturizer.
However, it’s not the best option for those of you who struggle with severe skin issues. At most, you could have a few blemishes here and there, and maybe some undereye circles or redness, but nothing too difficult to conceal.

Instagram: @taylorrchanel
So, how do I make it?
It’s actually very simple. The formula goes as follows: your favorite moisturizer + nutmeg, cocoa powder, or clove. That’s truly all it takes to make a good tinted moisturizer at home.
Remember that you should select your additive based on what color matches your skin the best. Here’s a quick guide to help you out select the right ingredient:
For darker skin tones: Use ground clove. It’s a rich, deep brown that’ll match both warm and cool skin undertones to perfection. Additionally, clove is a powerful anti-aging and antibacterial ingredient that reduces fine lines, wrinkles, and inflammation.
For medium skin tones: Use raw cocoa powder. Cocoa offers up a radiant, medium brown color that falls on the neutral side. Cocoa powder is surprisingly a good source of vitamin e and antioxidants, which clear and detoxify the skin.
For lighter skin tones: Use ground nutmeg. Nutmeg has a slightly golden brown tint that’ll give your skin a sun-kissed tan look. It’s particularly beneficial for oily, acne-prone skin because the anti-inflammatory properties balance out oil production.
Now that you’ve made your choice…
- Take a small jar and spoon in a tablespoon or two of your favorite moisturizer. I recommend using an SPF moisturizer for your skin type.
- Sprinkle in the nutmeg, cocoa powder, or clove.
- Mix it together thoroughly to avoid clumps.
- Continue adding in nutmeg, cocoa powder, or clove until you’ve reached your desired color. You can test it out on your hand or face as you go.
- Once you’re satisfied, you can begin applying the moisturizer on a clean face.

Do you have any tips on how to apply it?
Another reason why tinted moisturizer is the best is because it doesn’t require any skill to apply. Unlike foundation, you don’t need to use a special brush or technique to put it on correctly. Simply rub it on your face like any other face cream.
However, if you do plan to layer it with other products such as cream blush or lip gloss, I do recommend using a makeup sponge or brush for a more even application.
Additionally, you can absolutely combine more than two ingredients to your mix! In fact, sprinkling sage into your mixture will help balance out your red undertones, while ginger will counteract overly-cool or blue undertones.
Pretty easy, right? And not to mention, much cheaper. I’m not typically a DIY girl, but this is something I do regularly because it actually works. How about you—is this something you’re willing to try? Let us know in the comments below.