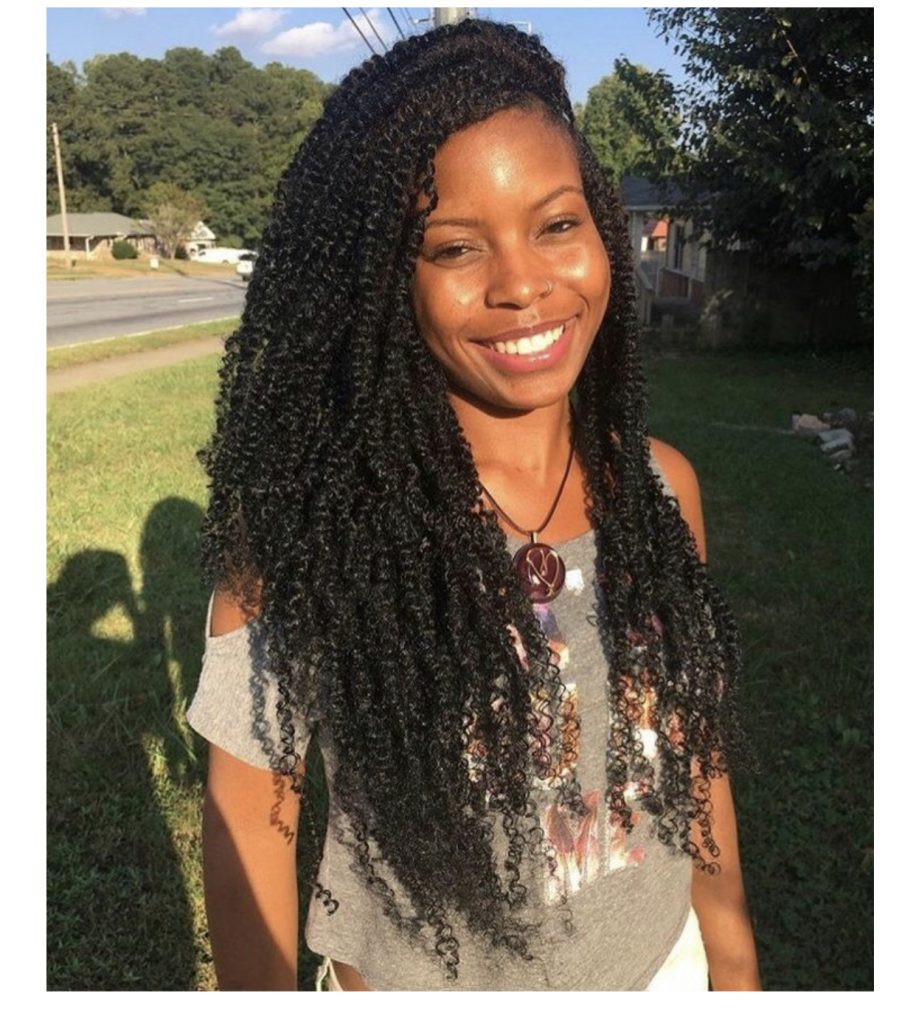
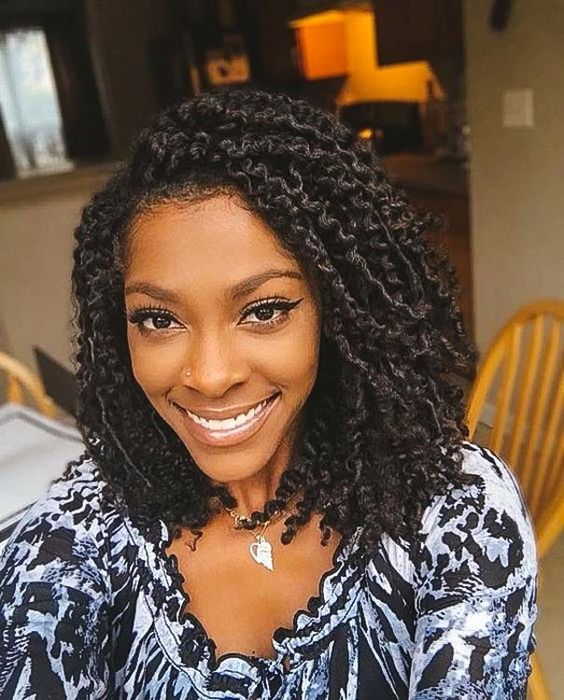
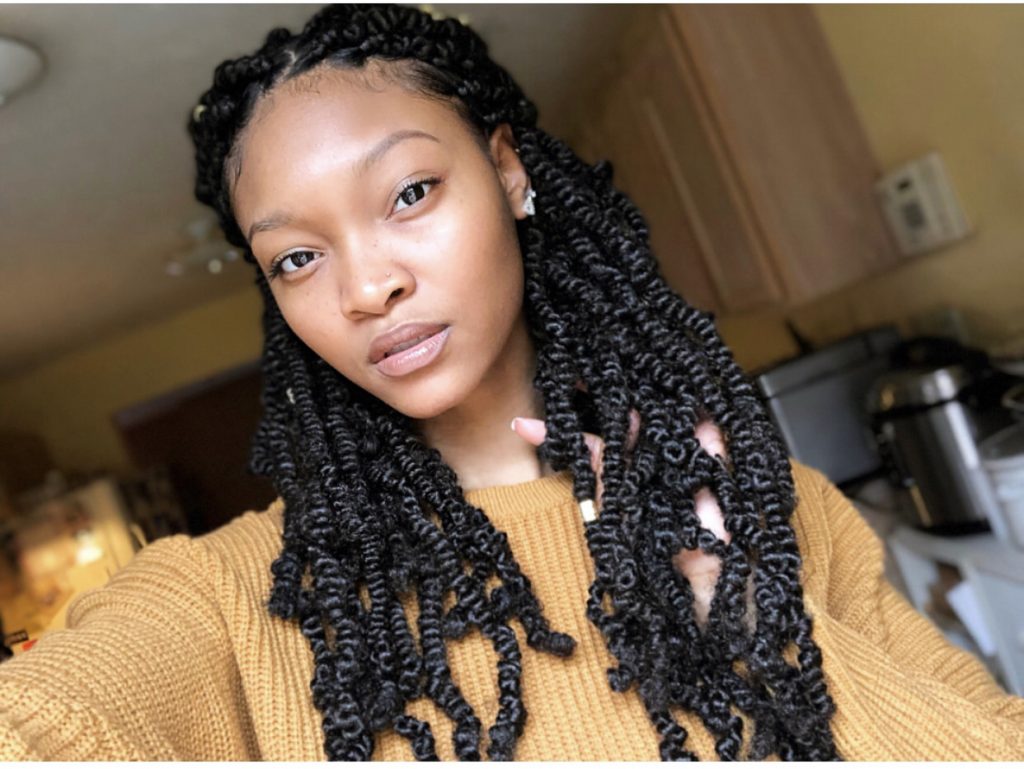
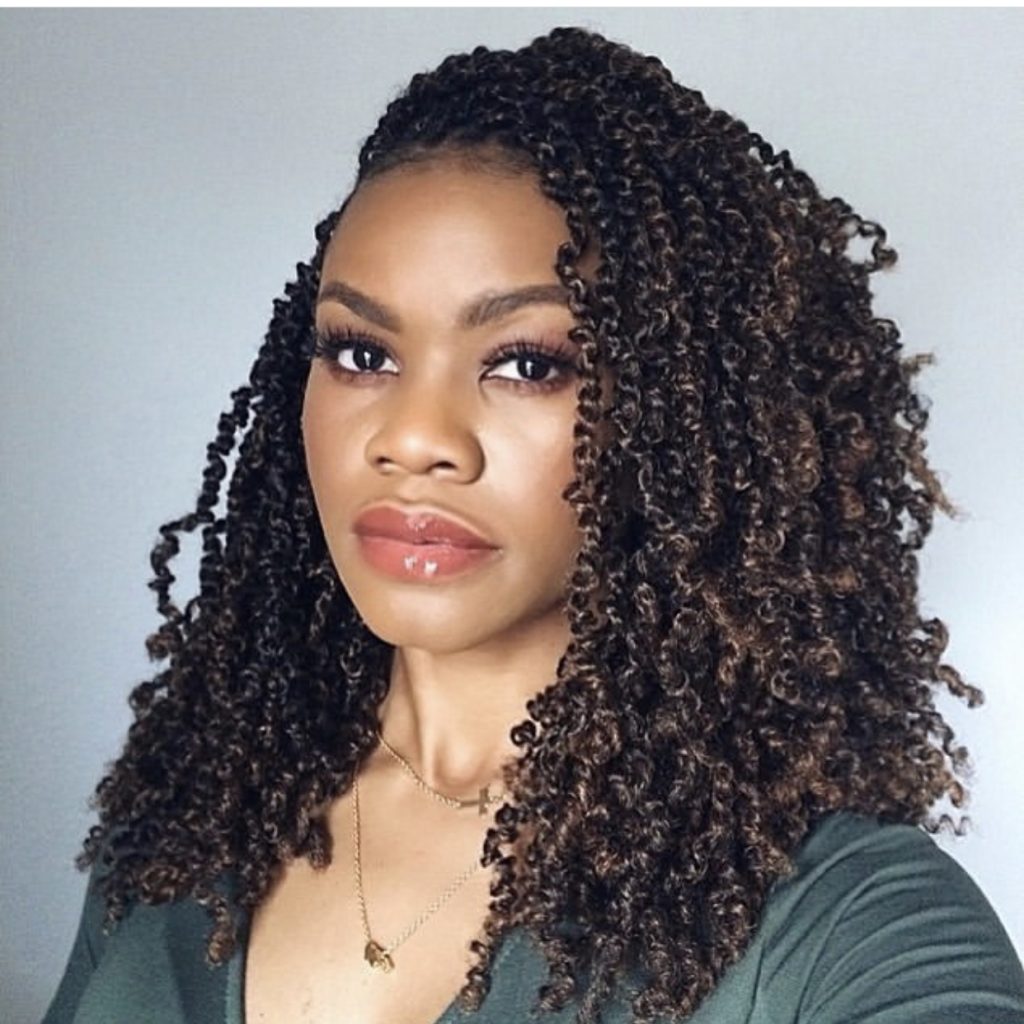
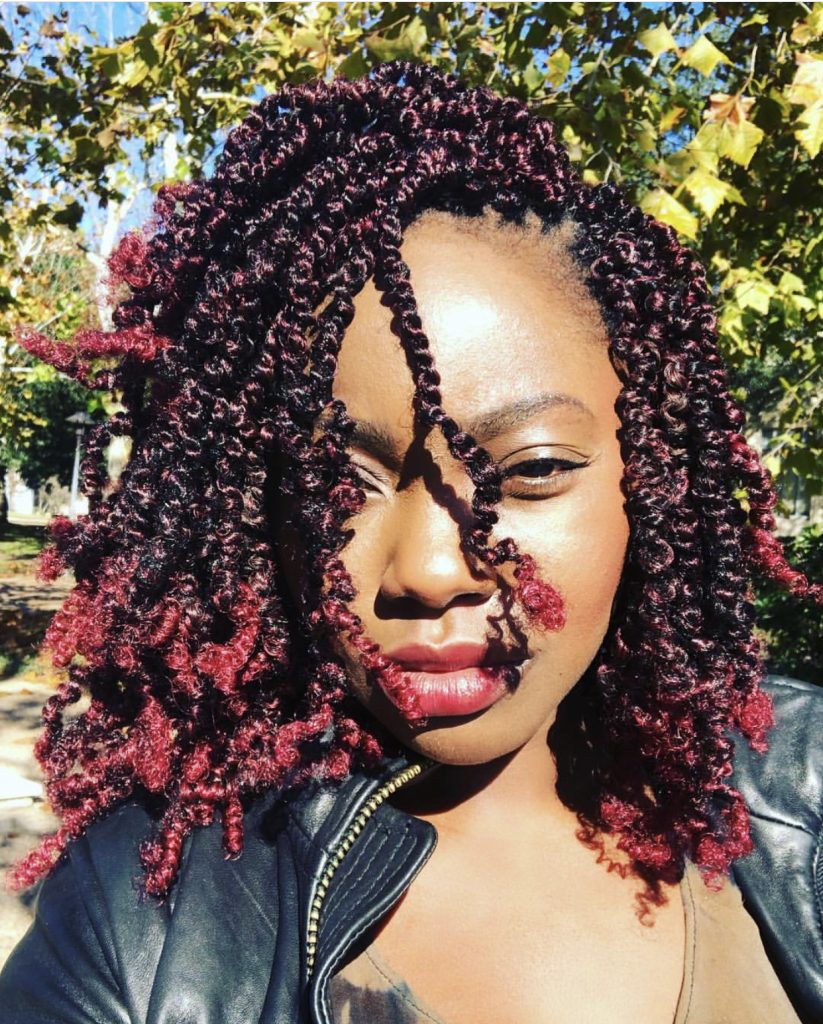
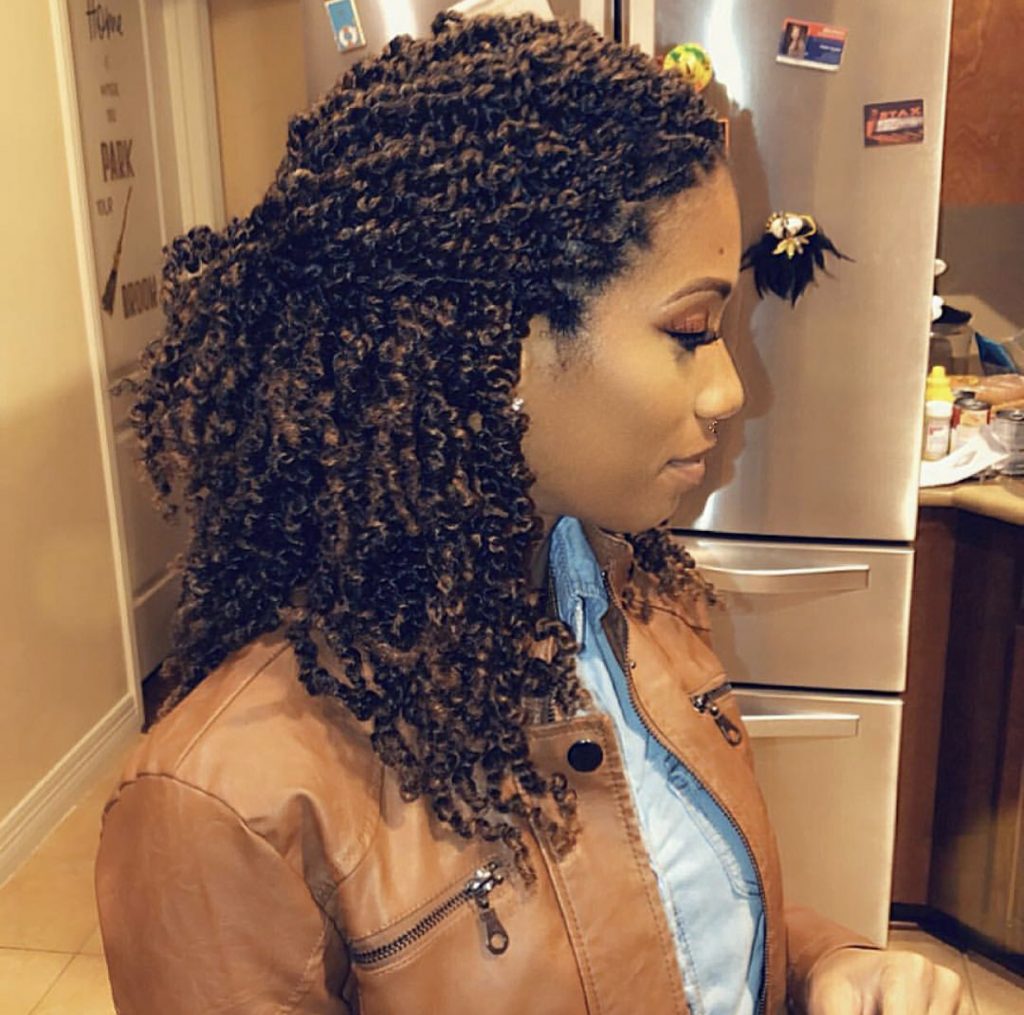
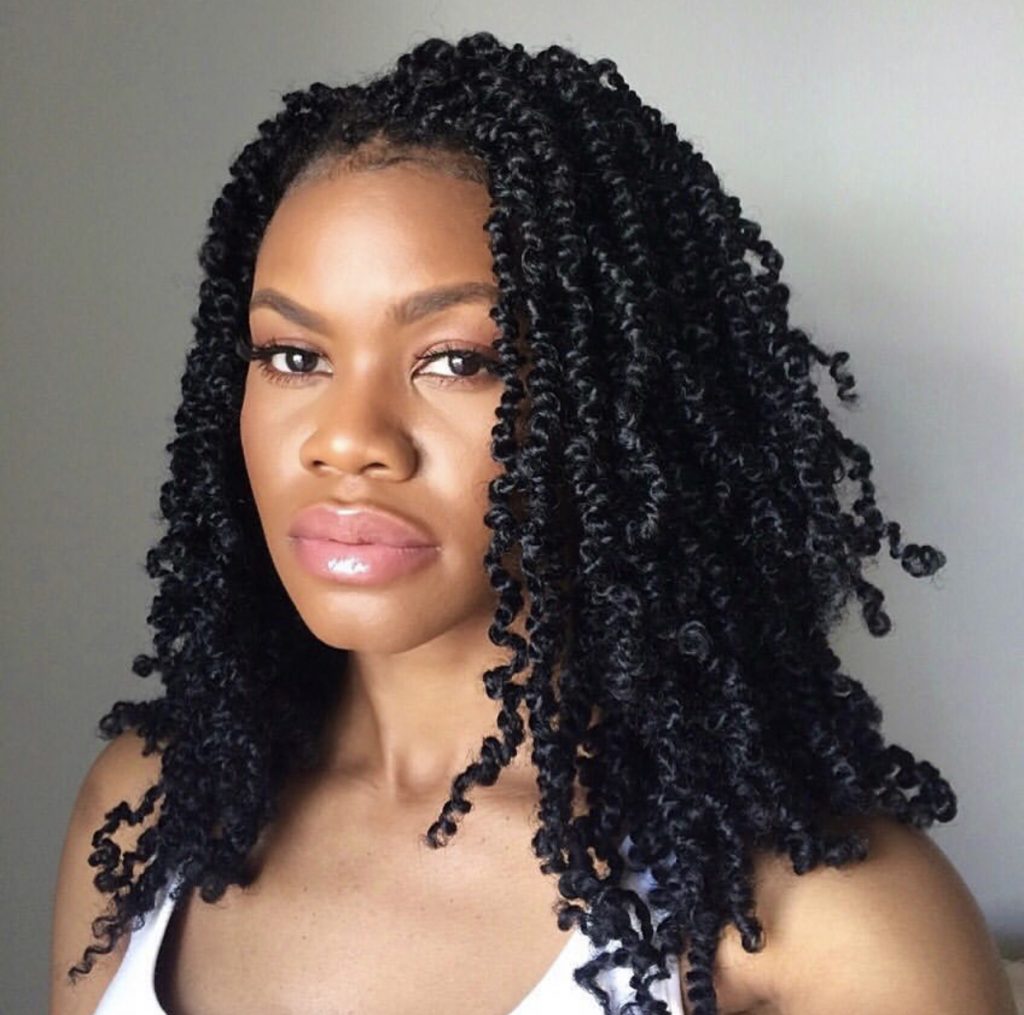
Spring Twists, also known as Natural Twists or Passion Twists, is a gorgeous, defined, and fluffy two-strand twist style that’s a must-try this season and frankly every season!
What are spring twists or passion twists?
Spring twists are a long-term protective style, that is not only easy to do but effortlessly manageable, and a cute way to help protect your hair as it grows or transition to natural hair.
The style requires coily hair extensions so that the final looks appear springy and bouncy.
No matter if you’re looking for something to help you reach a hair goal or just want to give something new and fresh a try, spring twists make a really good go-to.
Here are 4 things to keep in mind before giving this beautiful look a try!
Pick The Right Hair
Spring Twists are typically done with pack hair that is used for crochet hairstyles so that it gives you the option of crocheting the twists in or creating your own individual twists.
Amazon offers many different variations of “spring twist” crochet hair, but if that is not available to you, crochet curl patterns like “Jamaican Bounce” are also great for achieving this look!
Braid First, Twist Last
With every twist, you must braid at the base first to keep your hair from slipping and falling out. The great thing about spring twists is that each individual twist should be small, so if you’re not the strongest or neatest braider, it’s not as noticeable as when you do bigger twists.
You don’t need to braid too far down, either! Braid about an inch down before you begin twisting. If you have longer hair, moisturize and tame your hair before twisting for a smoother blend.
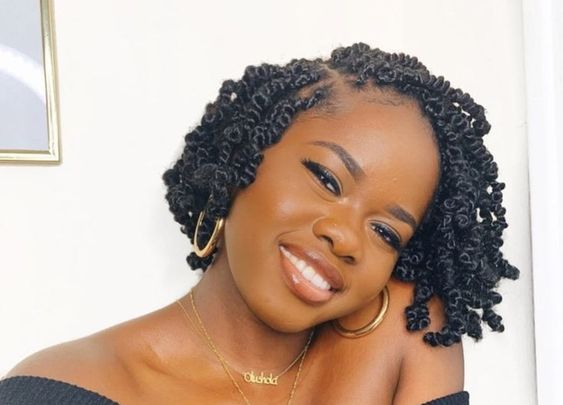
Why Not Go Short?
Spring twists are not also called “natural twists” for no reason; This hairstyle has the potential to look like it’s growing directly out of your scalp!
If you like a more natural look, go for a realistic length that is short to medium in length. For those of you with medium length hair (around 11 to 14 inches long) already, twist in hair about an inch or two longer than your natural hair so that you can still safely seal the ends in hot water.
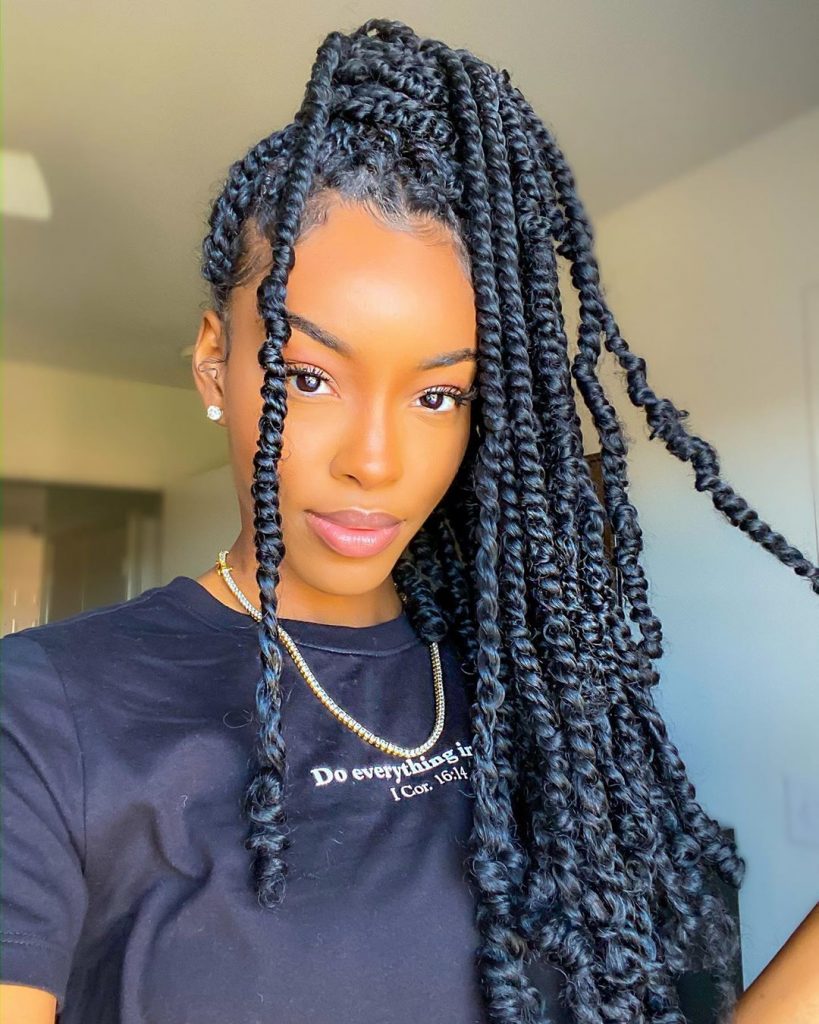
Short Spring Twists or Passion Twists Inspo
For the above picture, click the below to watch her video on how she did that gorgeous installation. Watch below:
More short styles

If you want to use your own hair for this look, it’s very simple– remember that these are really just two-strand twists!
Keep caring for your natural hair
You’ve heard it once, and you will hear it again: your hair absolutely still needs to be cared for while in a protective style!
Oiling and massaging your scalp, gently cleansing your twists, and redoing twists are all part of keeping your hair healthy and fresh.
Keep an applicator bottle filled with mixed oils on hand to nourish your scalp and roots when needed!
Extra hair to redo old twists at your edges and nape is also very important if you plan to wear this style for 4 weeks or more.
As a matter of fact, since you are here you might as well check out these two braid spray recipes I shared a while back! You might find them useful!
Spring Twist Demos
More pictures:
@braidsby aja:
Two more videos:
Passion Twists using the rubber band method:
Passion twists or Spring twists are great but if you want more protective style option you can click here for 35 more.
If you want to learn more about Butterfly locs, feel free to click here as well. Comment below and let us know if you have tried Spring Twists or Passion Twists.