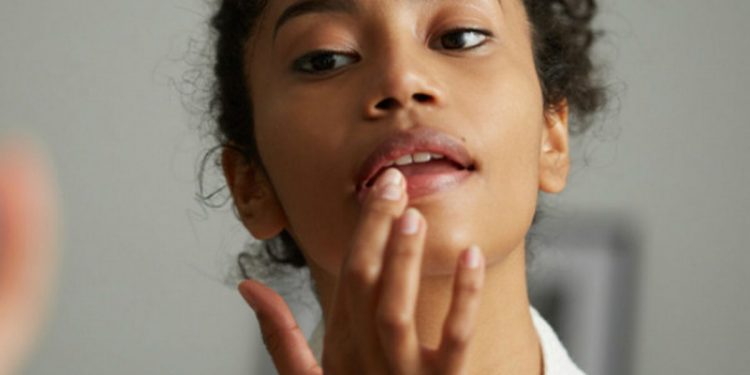
On a date, at a wedding, or in an interview, the last thing you’d want to be worrying about is running mascara, foundation patches, or lipstick creases.
And while you’d be excused for mascara mishaps (its application is notoriously tricky to master), when it comes to lipstick, a girl’s best friend, it’s a bit hard to wiggle out of a creasy disaster. Lipstick carries this aura of effortlessness, which makes smudges and creases more frustrating.
But don’t get it twisted. Achieving long-lasting lip color is not an easy feat. Like serum layering, it requires the meticulous application of numerous products. Yes, we said numerous.
Now, if you don’t mind, allow us to give you the foolproof, systematic guide to layering lippies.
1. Lip Scrub
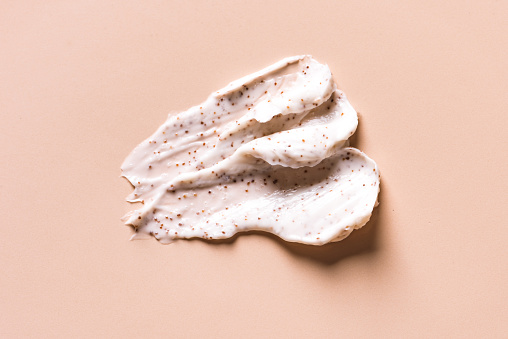
Exfoliating your lips helps slough off pesky flakes, smooth out creases, and stimulate blood circulation, spurring collagen production and supple, fuller lips. It also helps your subsequent product glide on seamlessly.
And while you can go for commercial lip scrubs like the Burt Bee’s Conditioning Lip Scrub, DIY lip scrubs/masks have been shown to offer you the same results. Here are some of our favorites.
You can also use a damp reusable cotton – they’re incredibly soft but give you an excellent scrub that keeps your lips extra smooth without the grittiness of exfoliants.
2. Lip Balm
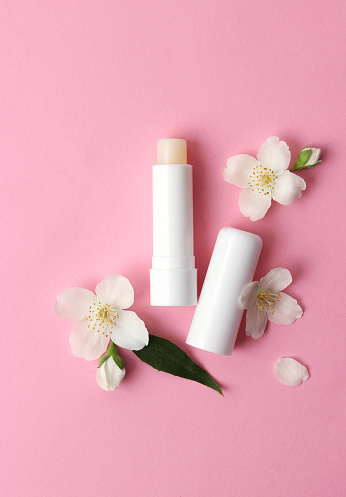
Before loading your pout with lip stains and gloss, you might want to prep your lips with a lip balm. It acts as the perfect primer, softens any lingering bits you might have missed when scrubbing, and gives your lips some much-needed hydration.
But your timing matter. Apply your lip stain right after swiping on a balm, and your color will slide right off. The trick? Swipe on your balm 10 to 20 minutes before your makeup routine – like right after getting off the shower. That way, your primer will have enough time to sink in and soften your pout.
An excellent moisturizing and affordable lip balm is the ShimiRose Pure Natural Shea Butter Lip Balm. It’s all-natural and offers your lips an all-weather shield and 24hr hydration.
3. Lip Liner
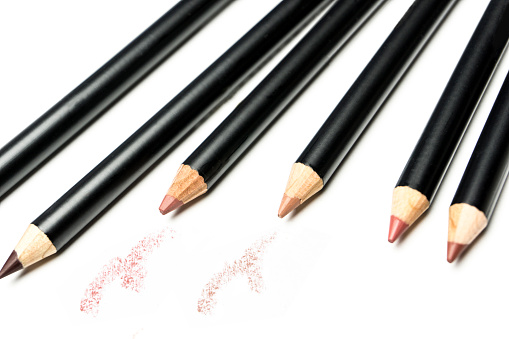
Beauty experts recommend using a lip liner to prevent lipstick from fading or feathering.
The trick, though, is to trace your lips to secure a helpful border and then fill in the remaining surface with your liner.
Doing so helps create a base color so that when your lip color wears away, you’ll still have a nice color and shape left.
And for optimal results, use a liner that’s the same shade or closest to your lip color – it’ll provide the perfect pout and give you that lasting, wow factor.
The Pat McGrath Labs Permagel Ultra Lip Pencil is one of the best lip liners on the market. It prevents color from fading, is waterproof, and seamlessly sculpts, shades, and defines.
4. Lip Color
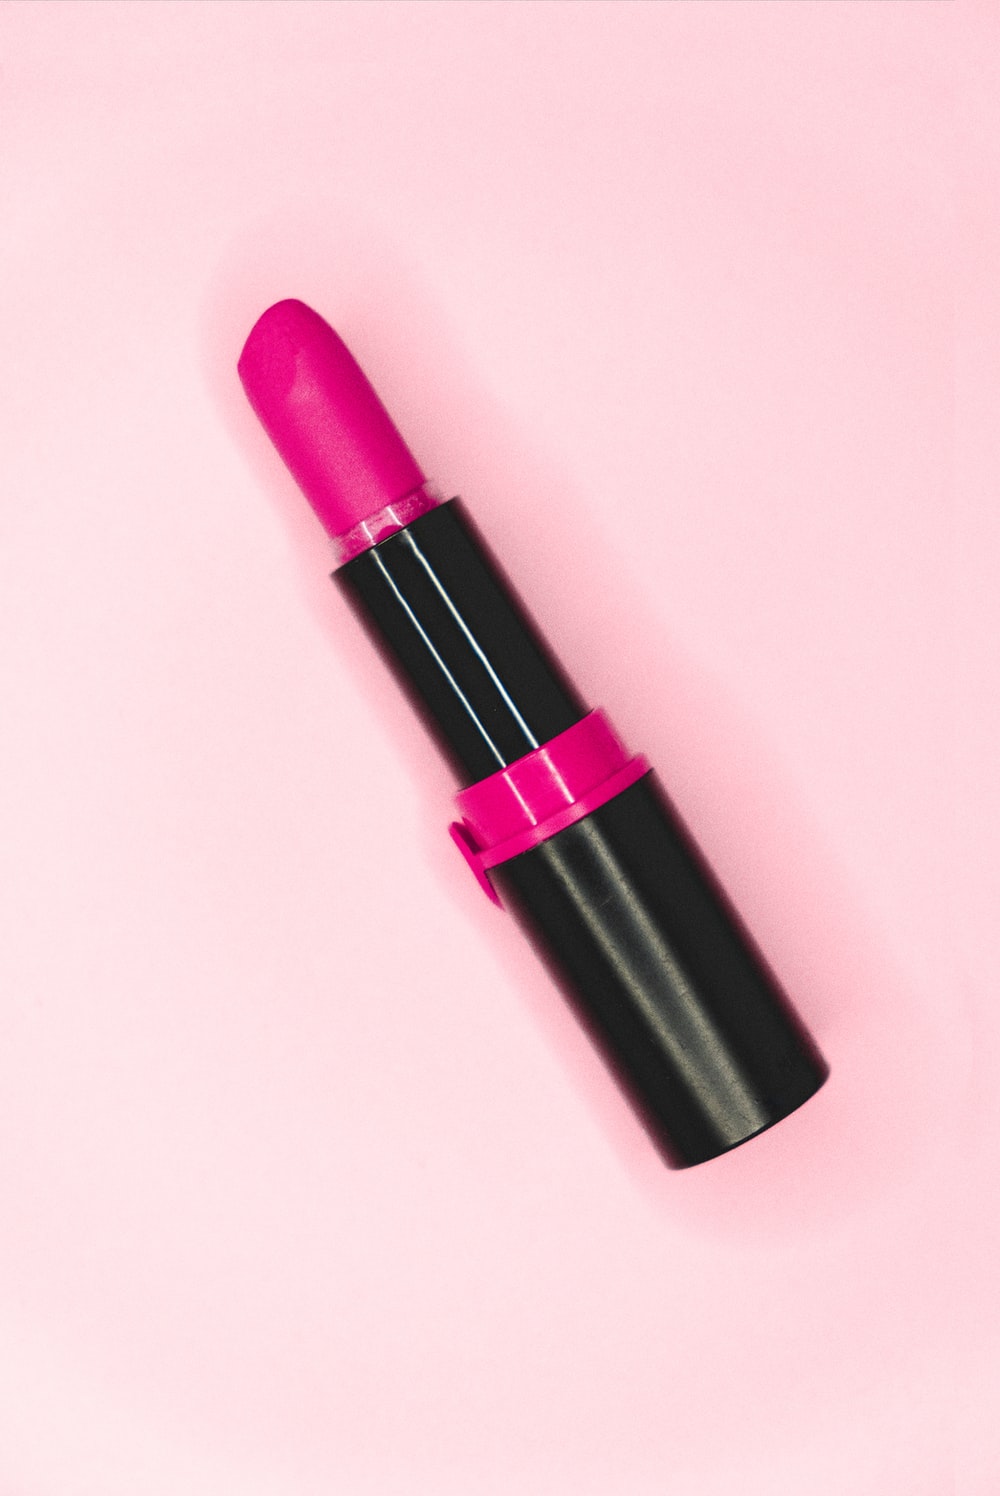
Now we get to the semi-hard part – applying lip color!
To ensure your lippie stays in place with no mishaps or smudges, you need to apply multiple layers of color. This mainly involves applying your favorite shade, blotting with a tissue, and then reapplying color.
Blotting the first layer allows you to press the lip color into the waxy liner base for a long-lasting finish. Reapplying lip color is just for that luscious effect.
There are hundreds of fabulous lip colors on the market, but the Fenty Beauty Stunna Lip Paint is a must-have. It comes in a range of colors, making it perfect for every skin tone, and stays put for over 12 hours – goodbye wine glass stains!
5. Lip Gloss
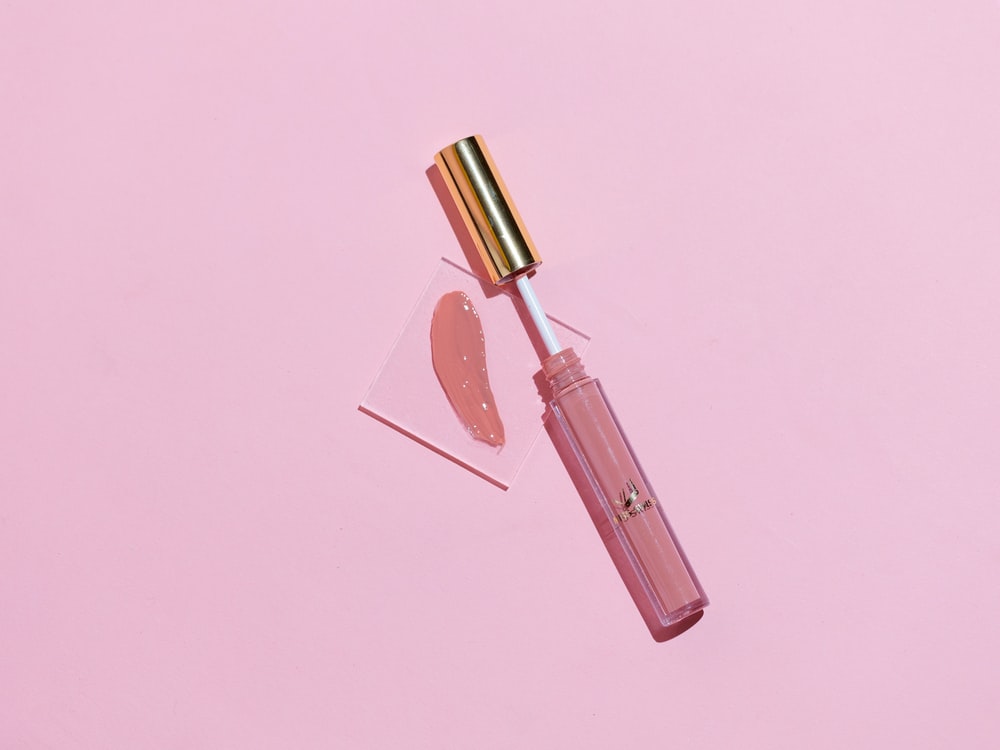
You don’t have to follow lip color with gloss, but a touch of shimmer never hurt anyone. What’s more, you can always go for a sexy glossy lip when lip color feels like too much work.
And, unlike lip stains, lip glosses accentuate your lip shape and give you that much-needed pop and poutiness.
A good and super inexpensive lip-gloss option is the NYX Butter Gloss. It gives you major color payoff and a buttery, smooth finish.


